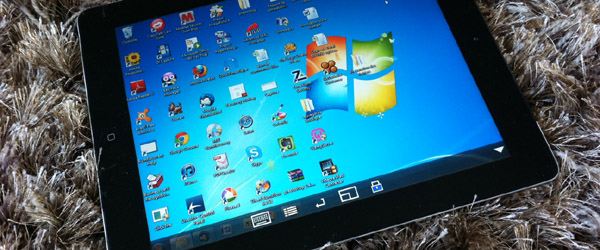
Many applications allow access to a PC via a local network or remotely, such as Splashtop and Teamviewer. However, they are often ineffective without a local router. This tutorial explains how to connect an iPad to a PC without any local network, whether on a boat, in a 4x4, etc.
Important: this tutorial is intended only for installations without a Wi-Fi router. If you have a Wi-Fi router, it is advisable to consult this other tutorial. It is recommended to print this page before you begin! You will need to disconnect from the internet to follow the instructions in this tutorial.
* You can initially try with the internal WiFi card of your laptop, but often the Ad-Hoc connection of internal WiFi cards does not work properly.
With Windows 7:
With Windows 8, 10 & 11:
Unfortunately, ad-hoc connections have been removed from these operating systems. However, there are many tutorials to work around this limitation. An ad-hoc connection is essential in the absence of a router. If this seems too technical to you, you will need to purchase and install a small onboard router that will serve as a Wi-Fi relay - see our tutorial "Replicate the screen of an iPad on PC or TV and vice versa".)
On the iPad, open Settings > WiFi. You should see the network "Test1" appear.
Select this network and WAIT AT LEAST ONE MINUTE. Tap on the small blue circle to the right of the network and check the IP address. After one minute, a new address must appear as 169.254.X.X. Do not proceed until this address appears.
Note: if you encounter connection problems after following this tutorial, you can enter a static IP address at this stage. After tapping the small blue circle as mentioned above, select Static, and enter the IP address of your choice (e.g., 169.254.1.1 - just make sure it is different from that of the PC) and the subnet mask 255.255.255.0. Then follow the rest of the tutorial
On the PC, look for the TightVNC Server icon at the bottom right of your screen.
Right-click and click on "Attach listening Viewer" and enter the IP address of the iPad in this window. Hovering over the icon with the mouse displays a "tooltip" with the IP address to use to connect to the server.
Connect your iPad to the "ad-hoc" network of your PC via Wi-Fi, or connect the PC and iPad to the Wi-Fi access point. Launch the Mocha VNC application.
Tap on Configure > New and enter:
Go back and then Connect and tap the connection that was just created
A window opens: enter the password set on the PC in TightVNC and click
You're in, you should see your PC's screen appear! Magical, right?
You have several controls:
Note on antivirus and firewalls: Depending on the settings you have implemented on your PC, you may need to disconnect your firewall or antivirus to allow an ad-hoc connection. But this is not mandatory: during this test, it worked very well with "ZoneAlarm" as the firewall and "Avast" as the antivirus.
